Pressure Washer To Strip Paint (How-To Guide)
So, you’ve got some old paint you need to get rid of and a pressure washer sitting in the garage.
First thought: can you use it to blast off the paint? Short answer – yes, you totally can.
Pressure washers are surprisingly good at stripping away old, flaky paint when used the right way. But hold on, it’s not as simple as just pointing the nozzle and pulling the trigger. There are a few things you need to know first.
In this post, we’ll show you how to use a pressure washer to strip paint.
Can I Use A Pressure Washer To Strip Paint?
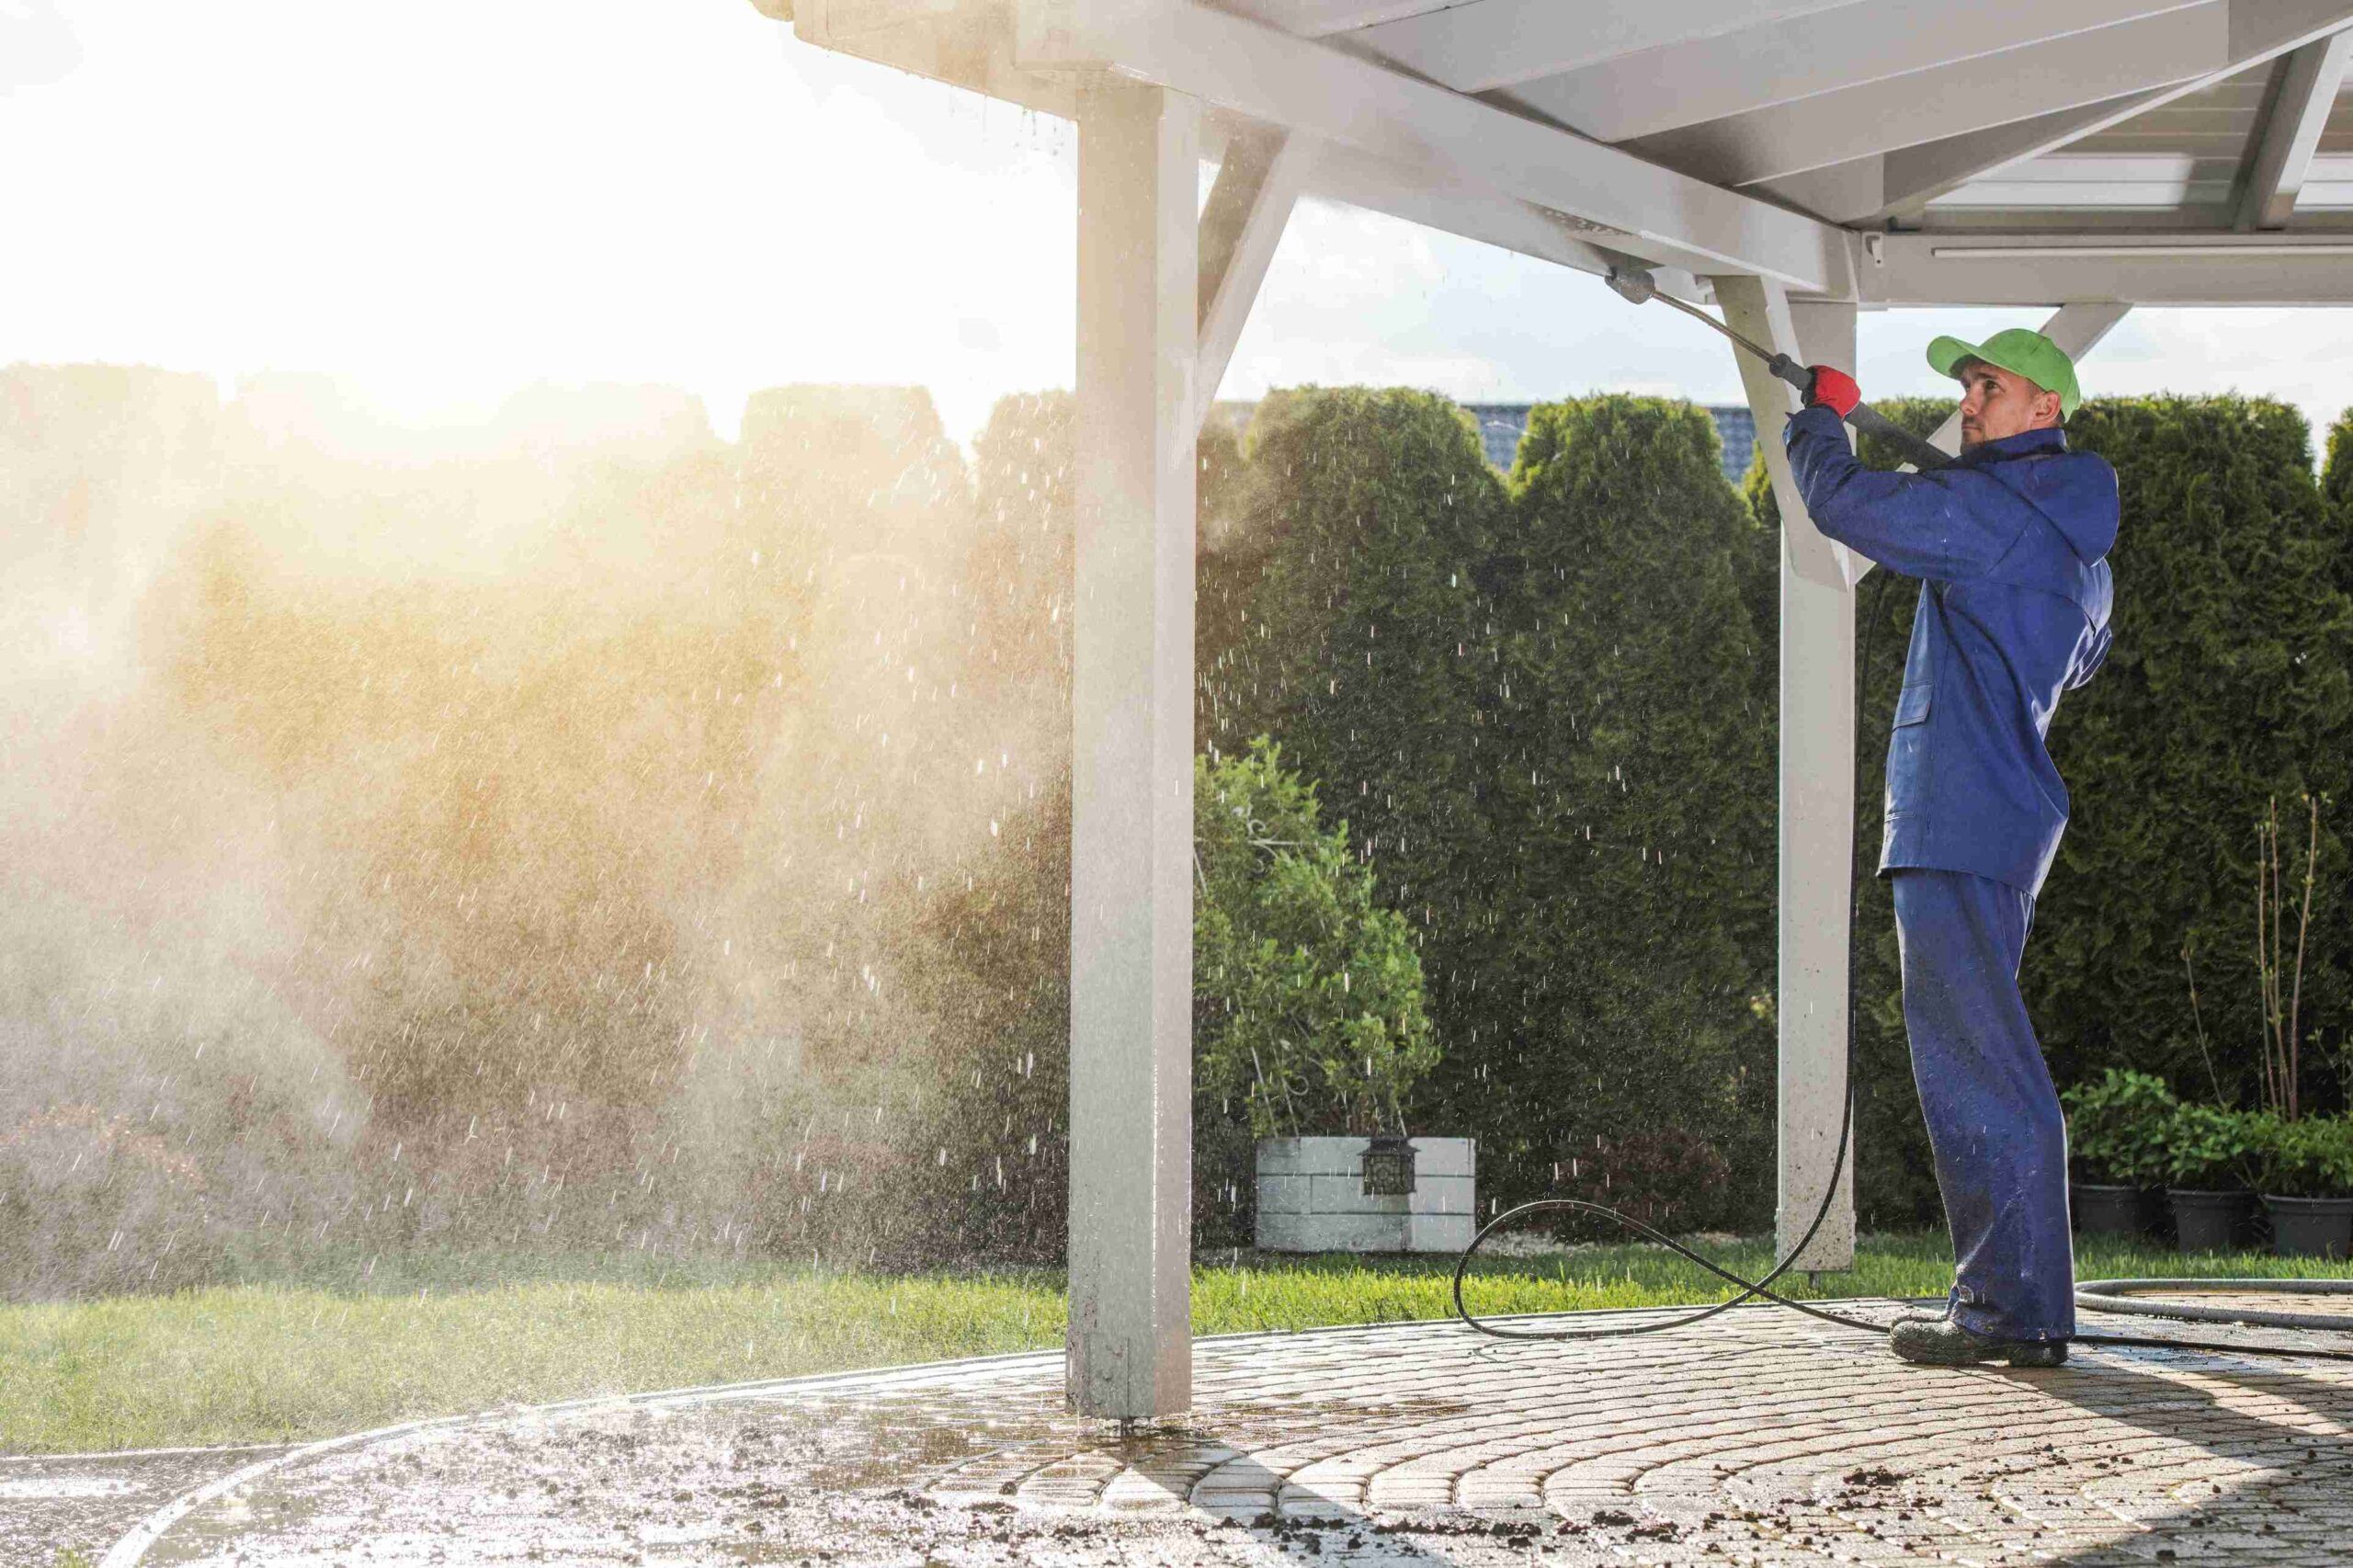
Yes, a pressure washer can be a great tool for removing paint from fences, decks, siding, brick, concrete and many other surfaces.
If the paint is already peeling or loose, water pressure can lift it clean off!
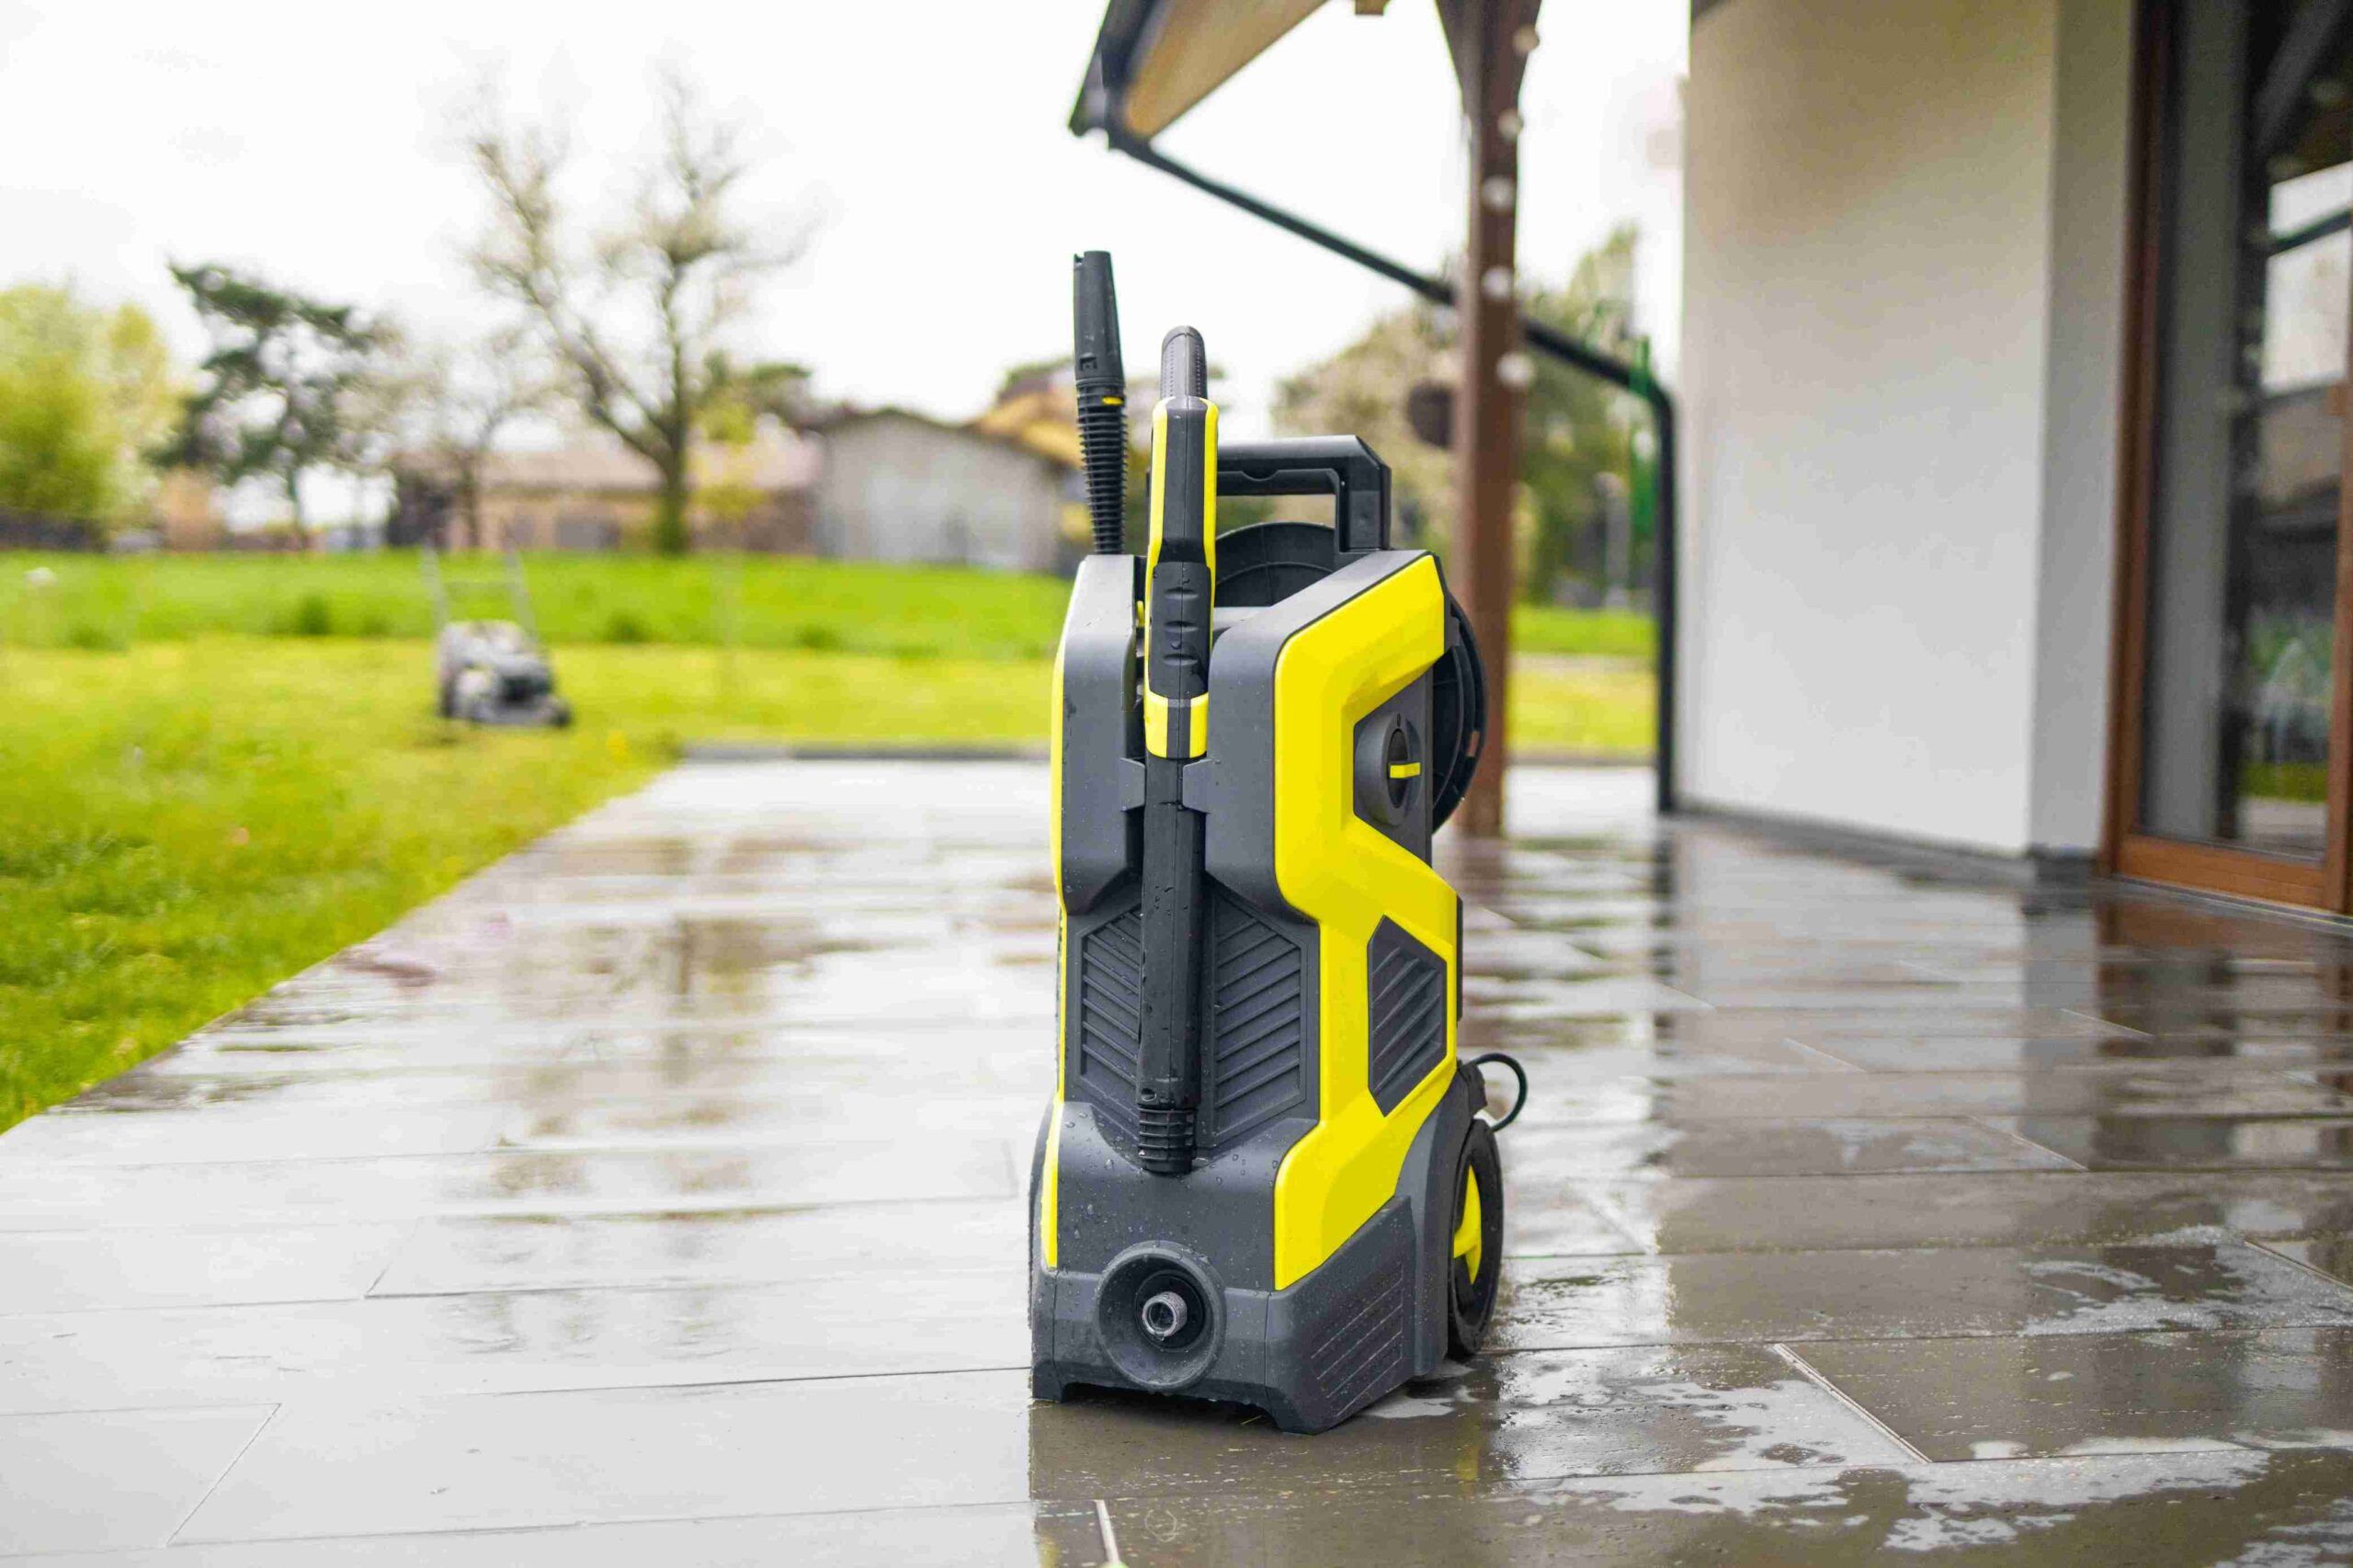
Most pressure washers that are gas-powered and push out 2500 to 4000 PSI will do the trick. Electric ones might not pack enough punch unless they’re on the higher end.
You just have to find the sweet spot – enough pressure to remove paint, but not enough to gouge the surface.
That being said, paint removal isn’t exactly what pressure washers were designed for. So don’t expect perfection or a totally clean surface. You’ll probably still need to do some sanding or scraping afterward, especially if you’re planning to repaint.
Also Read: Can You Pressure Wash In The Rain?
When You Shouldn’t Use A Pressure Washer
Pressure washing isn’t a good fit for every surface or situation.
For starters, don’t mess with it if you think the paint might contain lead. Old houses (pre-1978) are big suspects. Blasting lead paint into the air and soil is a no-go. It’s toxic stuff and needs special handling.
You’ll also want to skip the pressure washer on soft wood, trim, or anything delicate.
It’s easy to gouge the surface or force water deep into cracks. That causes more headaches down the road.
And if you’re dealing with a finished indoor surface (drywall, for example) definitely skip the pressure washer. That’s a recipe for disaster.
How To Strip Paint With A Pressure Washer
Ready to get to work? Let’s walk through the whole process, step by step. It’s not complicated, but a little prep makes a huge difference.
Also Read: Should I Pressure Wash My House Before Painting?
What You’ll Need
Here’s the short list of gear to gather before you start:
- A pressure washer that can do at least 2,500 PSI (up to 4,000 is even better)
- A 25° or 40° spray tip
- Eye protection, gloves, and maybe long sleeves
- A paint scraper or sander for touch-ups afterward
- Tarps or plastic sheets for catching paint chips
That’s it! Now let’s get into the actual job.
Step 1: Check The Paint Type
Before you get all excited and start blasting away, take a minute to figure out what kind of paint you’re dealing with. This matters more than most people realize.
If the paint job looks old (like decades old) it could contain lead.
And blasting that with a pressure washer? Bad idea. You don’t want that dust and debris floating around your yard or into your lungs.
You can grab a lead test kit at the hardware store or have a pro check it out. If it’s lead-free, you’re good to move forward. If not, stop and look into safer removal methods.
Step 2: Prep The Area
This step isn’t glamorous, but it’ll save you so much cleanup later.
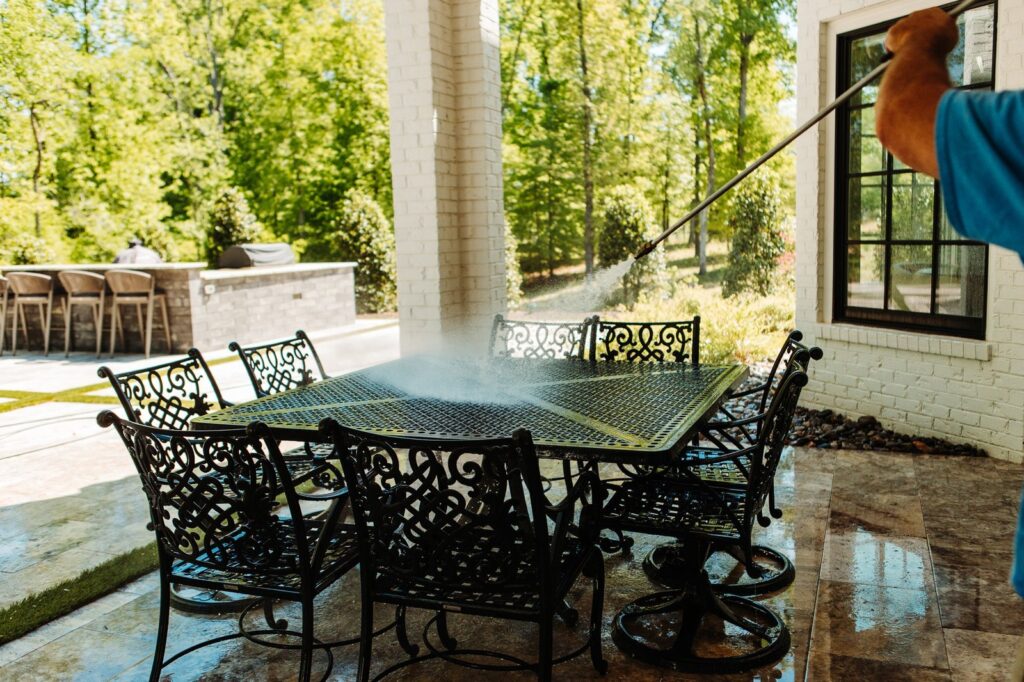
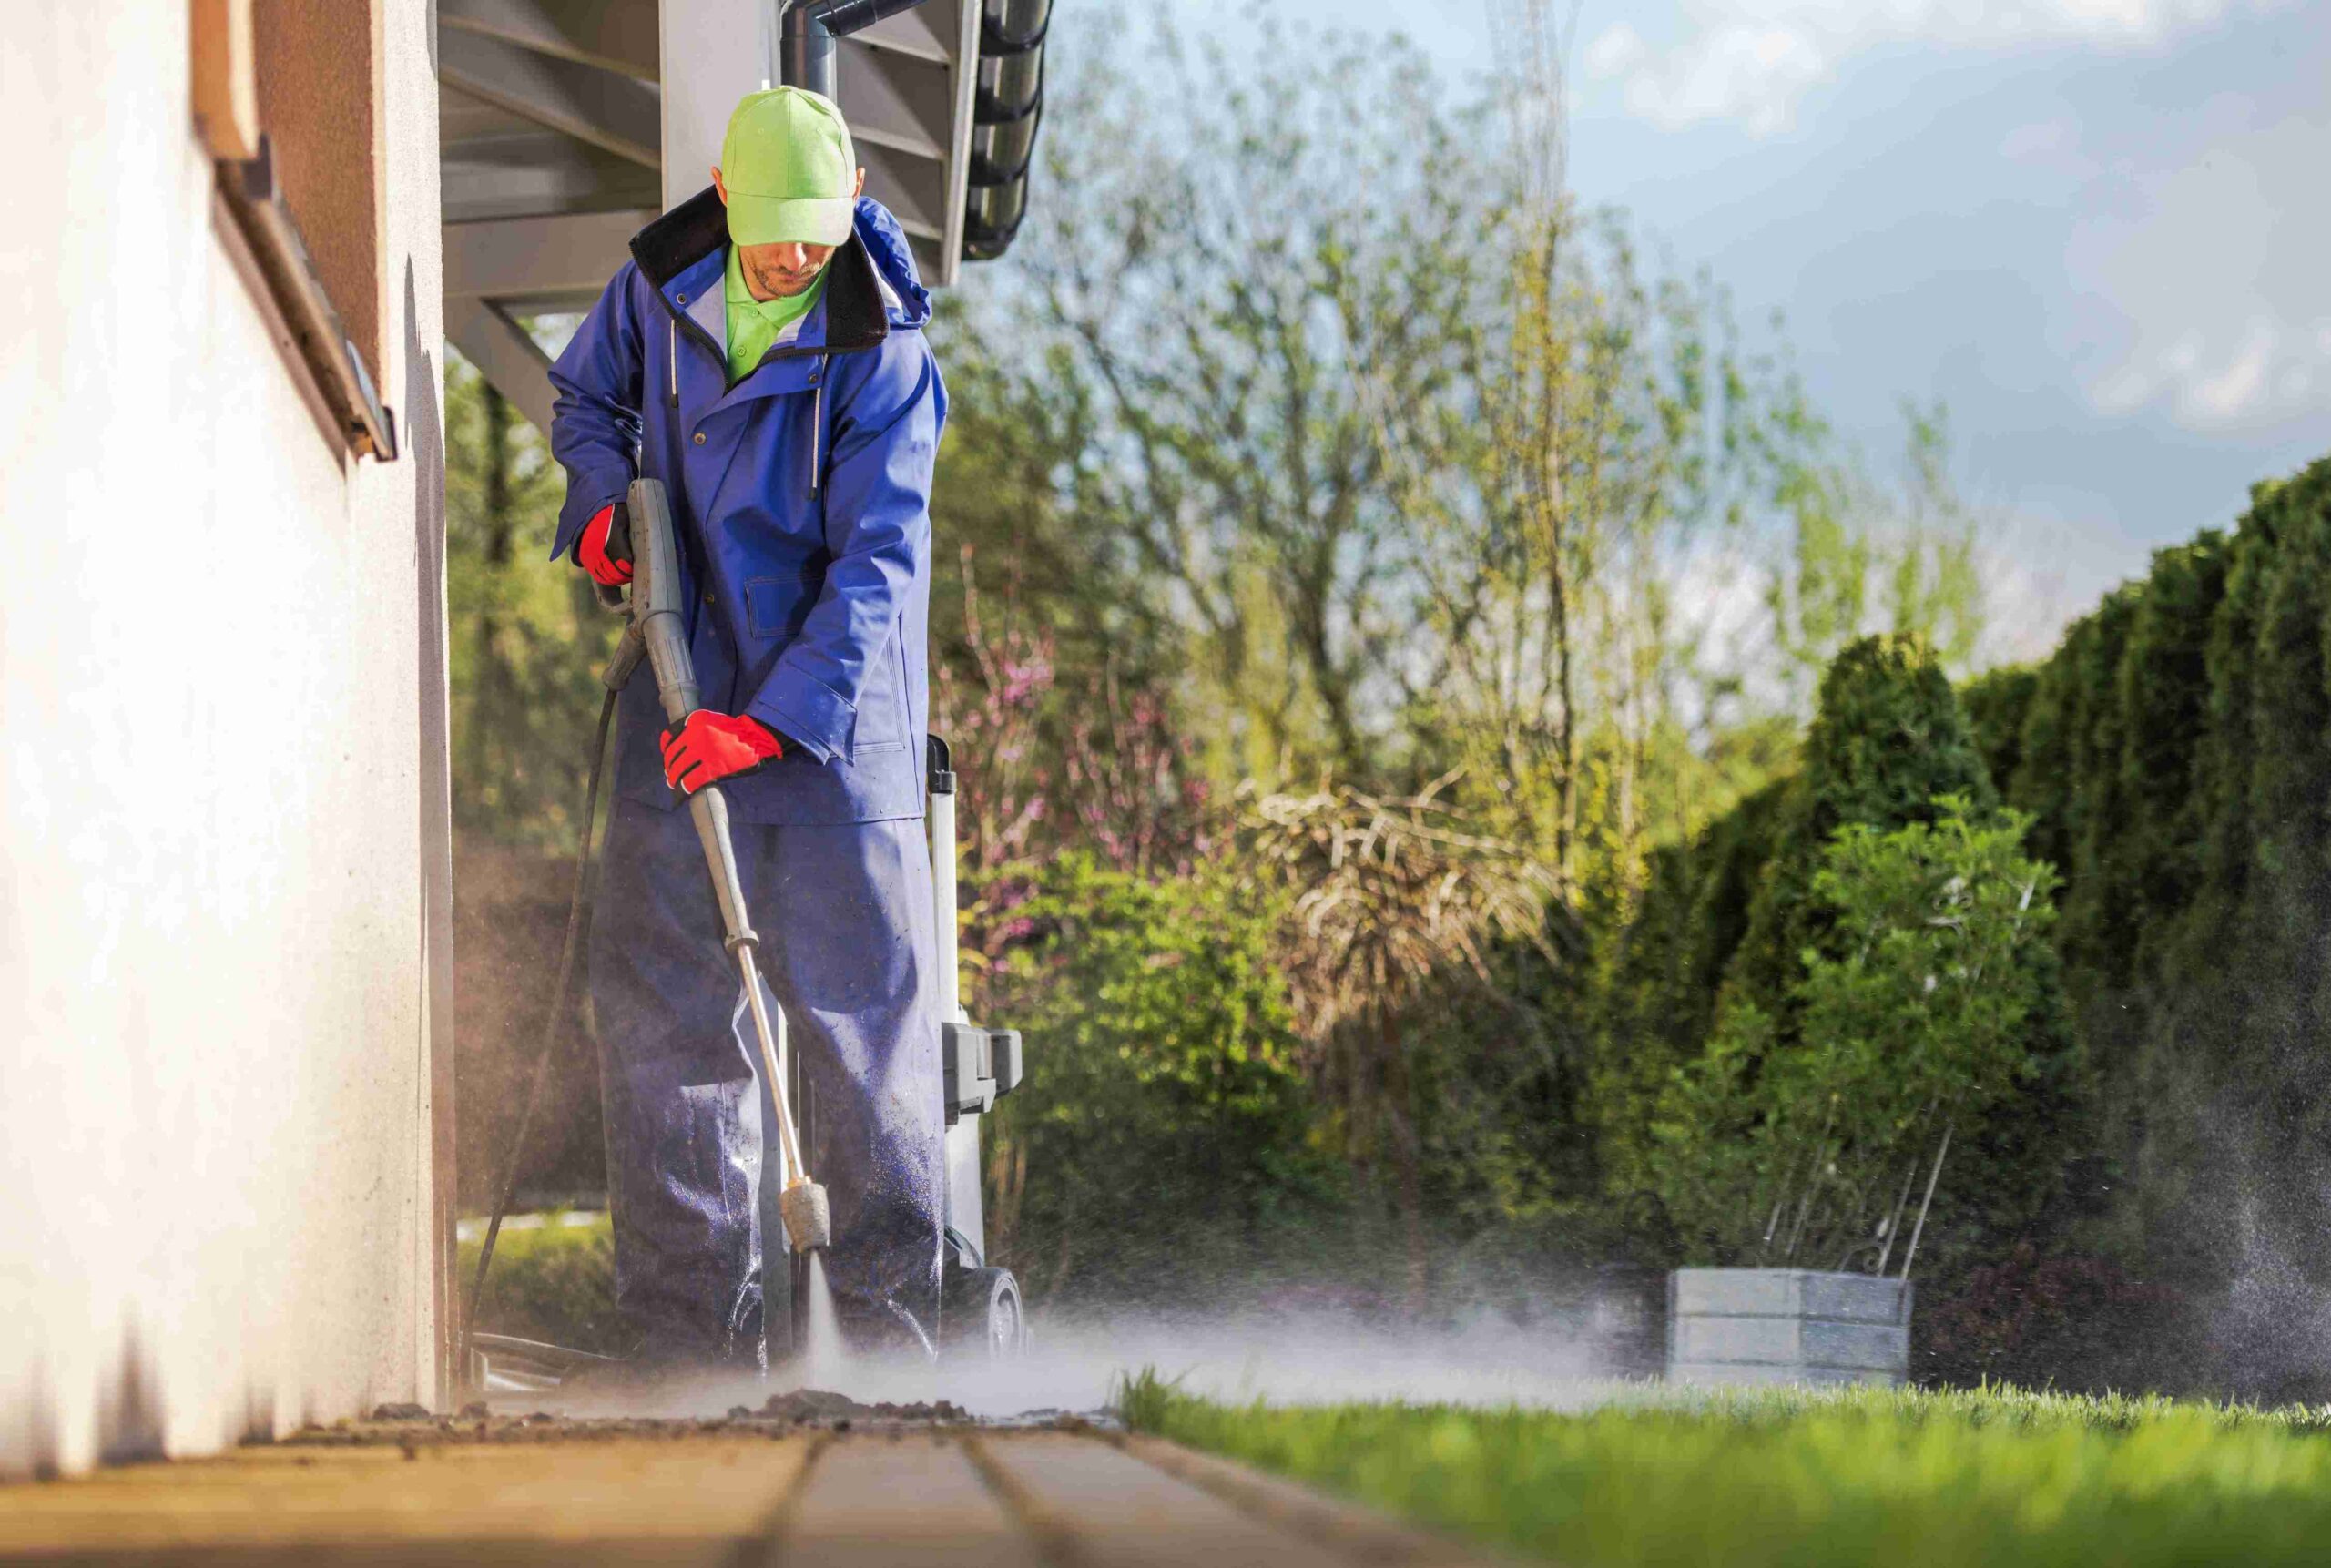
Start by clearing the area. Move furniture, grills, planters, or anything else you don’t want to spray or cover in paint chips. Then, cover anything nearby you can’t move like plants, outlets, doors, windows. Get them shielded with plastic or tarps. Tape things off if needed.
And don’t forget the ground. Lay down tarps or heavy-duty plastic to catch all those paint flakes.
Cleanup will be ten times easier!
If you’re working on bare wood, especially something dry like an old fence or deck, spray it down with a garden hose first. Moist wood is less likely to splinter under pressure.
Step 3: Set Up Your Washer
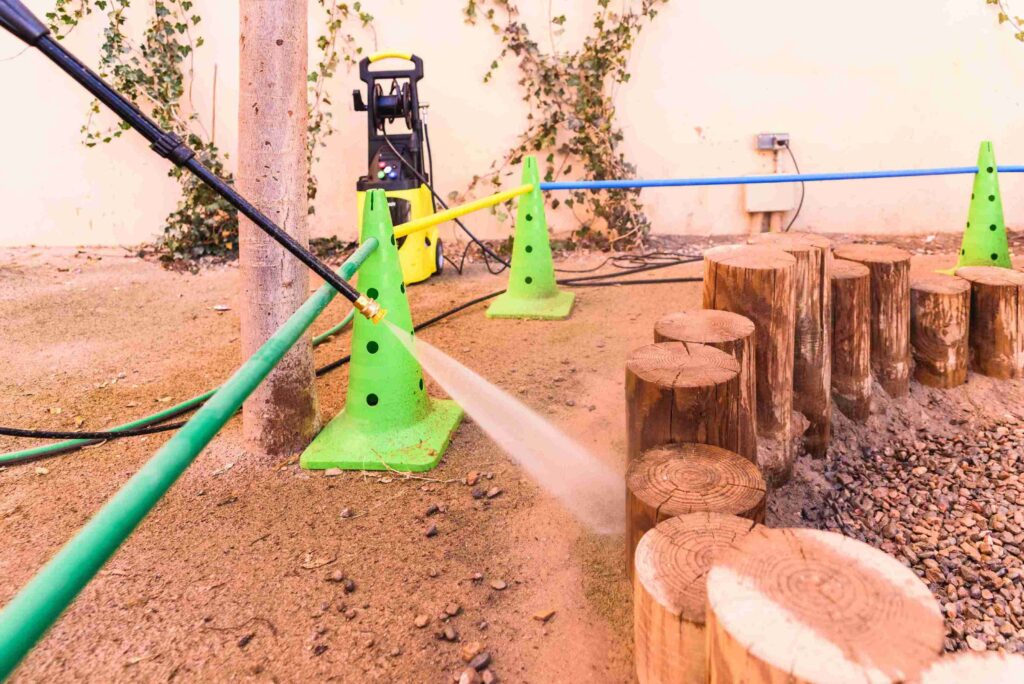
Now we’re getting close to the fun part. But first, get the right settings dialed in on your washer.
You’ll want a unit that can put out at least 2,500 PSI, as anything weaker might just tickle the paint instead of stripping it.
For the nozzle, go with a 25° or 40° spray tip. A zero-degree tip is way too aggressive and it can damage the surface fast. Attach your chosen tip, make sure everything’s secure, and then get your distance right.
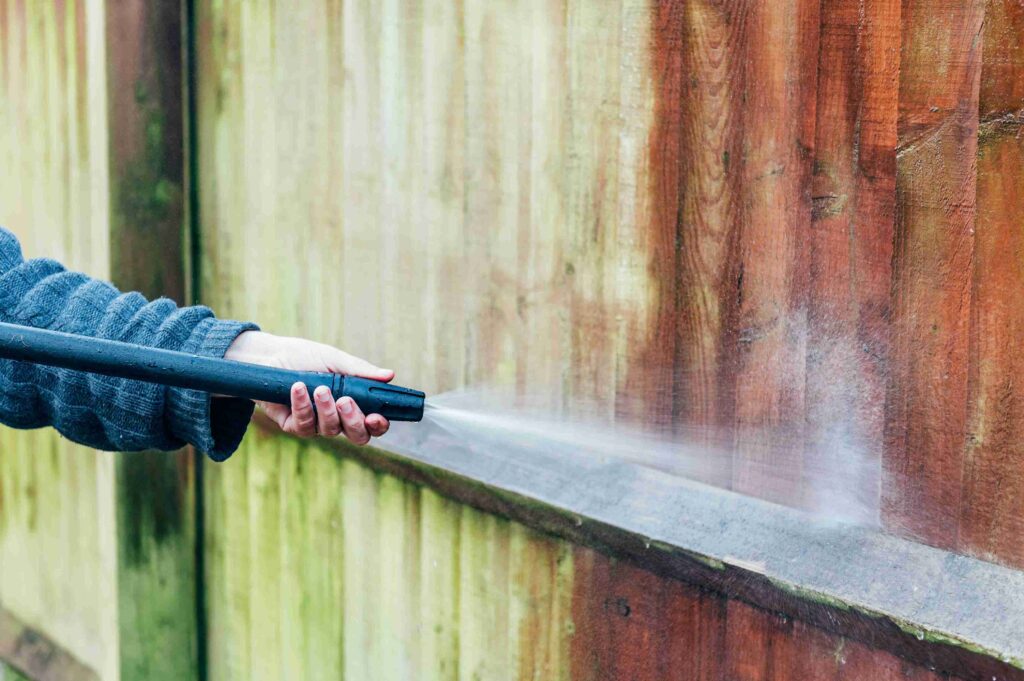
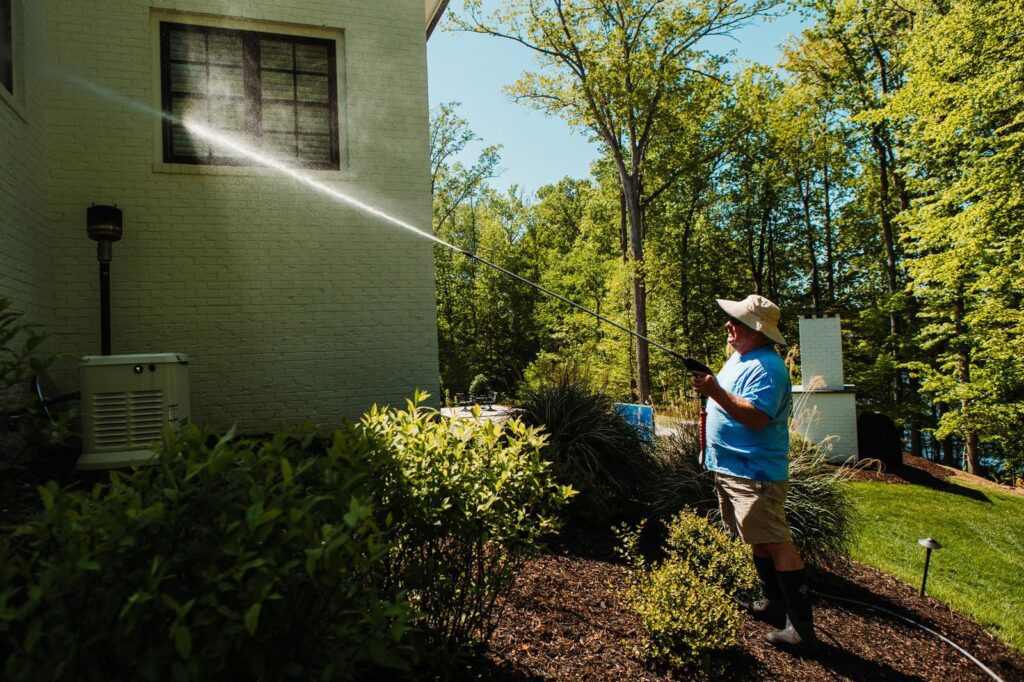
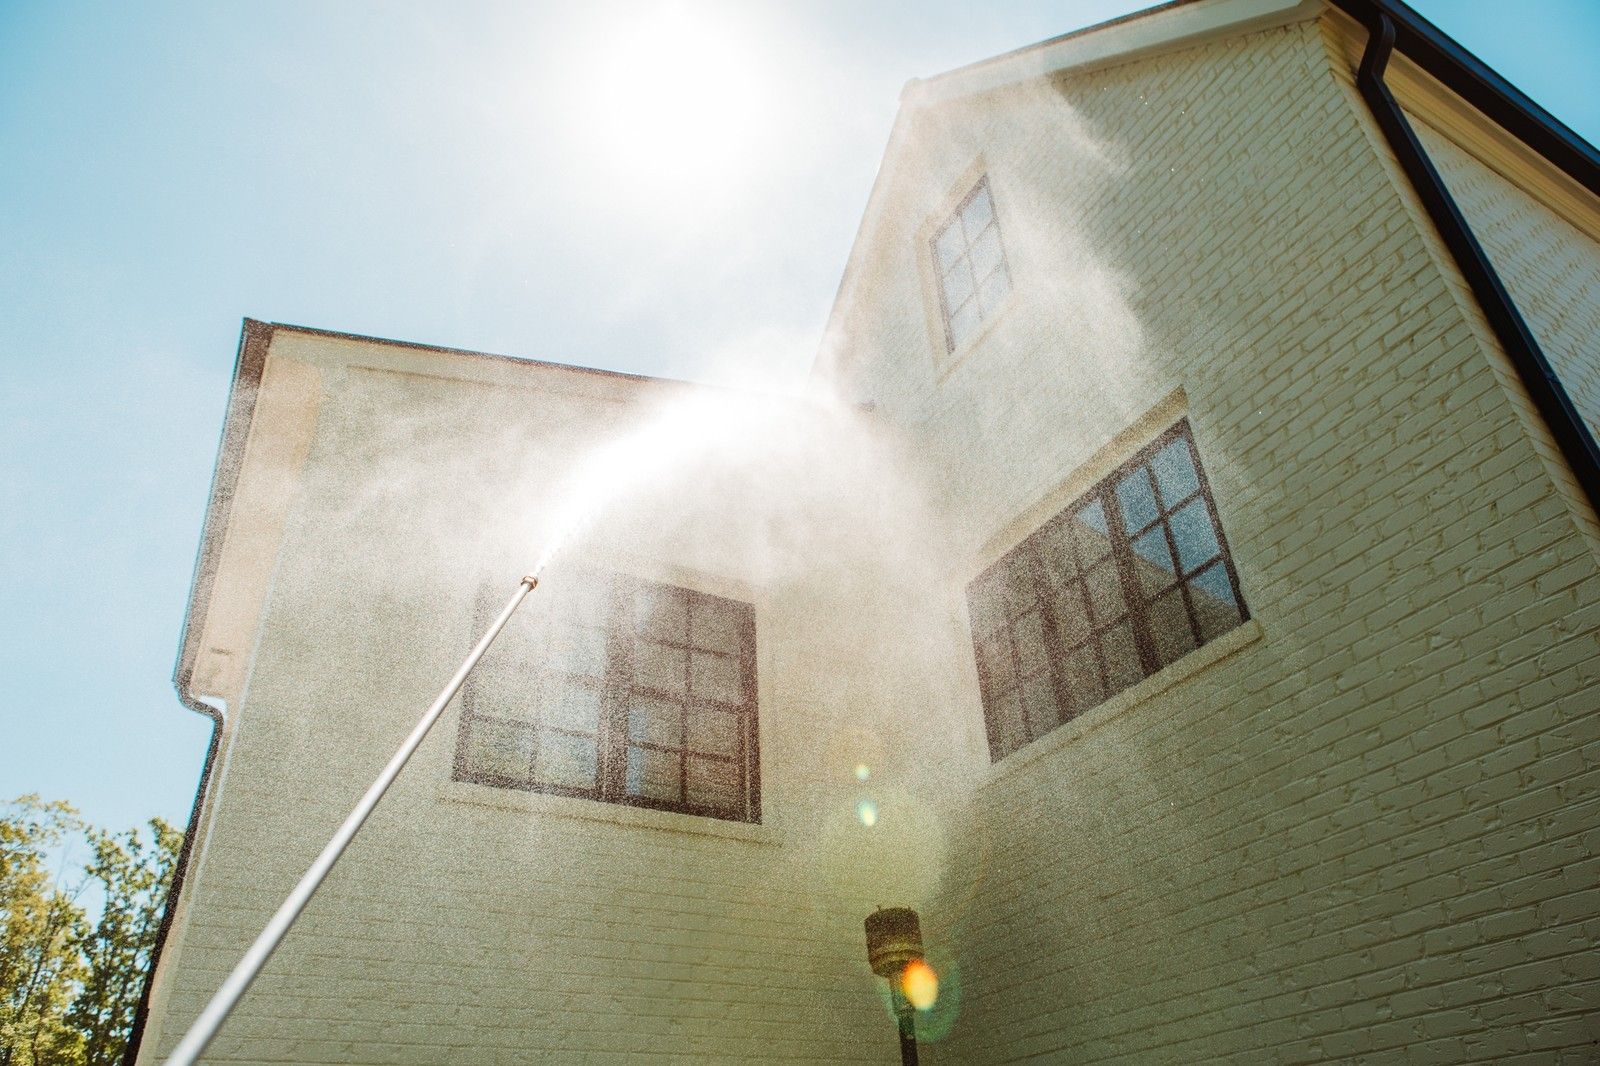
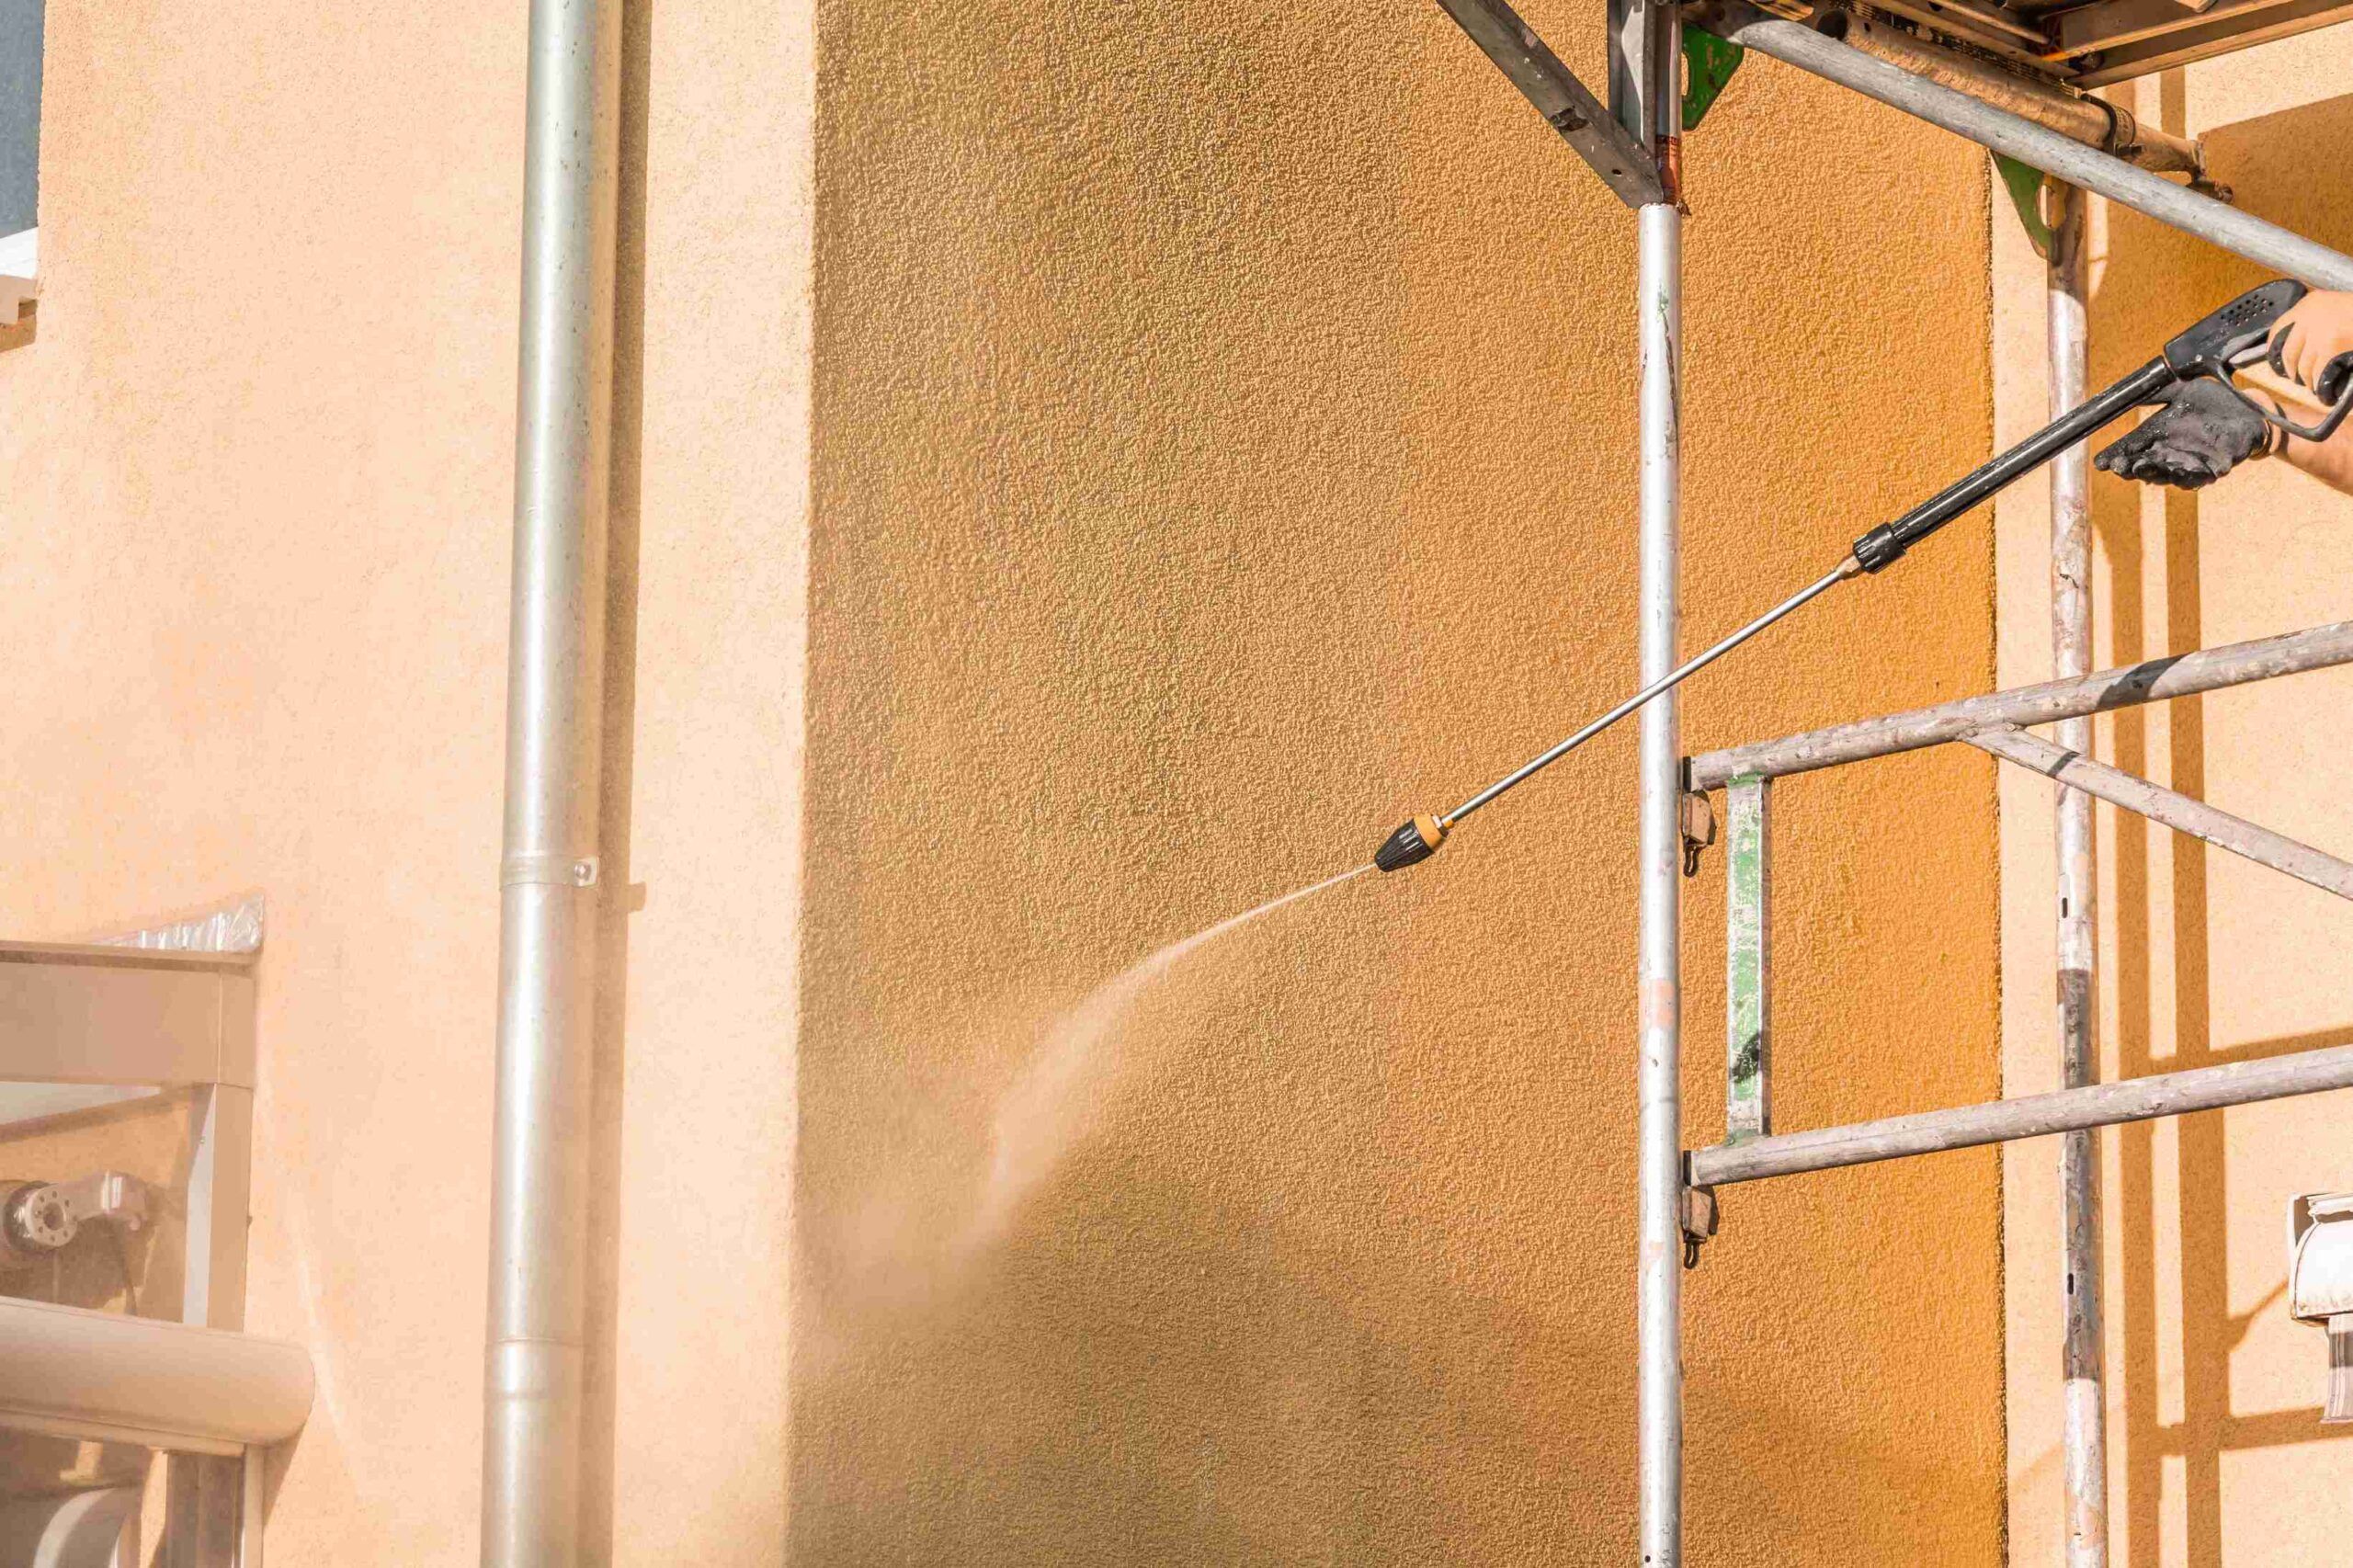
Start about 12 to 18 inches away from the surface. You can move closer if needed, but don’t start right up against it. Hold the wand at a slight angle (about 45 degrees) so the spray lifts the paint rather than drives water straight into the material.
Also Read: How Much Does It Cost To Pressure Wash A Deck?
Step 4: Start Stripping
Fire up the washer and start with a test spot. Pick a small section and see how the paint reacts.
If it bubbles and peels away easily, awesome – you’re in business. If it just laughs at you and sticks like glue, you may need to get a bit closer or adjust the pressure slightly.
Move in slow, steady passes. Don’t wave the wand around too quickly like you’re washing your car. Take your time, and let the water do the work. Stay consistent with your distance and angle.
You’ll start to see what comes off easily and what spots might need a second pass or some scraping later.
It’s oddly satisfying once you get into a groove.
Step 5: Clean Up
Once you’ve worked through the area, turn off the washer and let everything dry out.
Now comes the part nobody likes: cleanup. Start by collecting the paint chips from the tarps or plastic. Use a broom, dustpan, or even a shop vac if needed. Just don’t let the debris blow away or wash into drains.
If you skipped the tarp step (we’ve all been there), take a little extra time with cleanup. Walk the area and get as many flakes up as you can.
Paint chips might not seem like a big deal, but they’re messy and can kill grass or harm pets if left lying around.
Step 6: Finish The Job
At this point, your surface should be looking a lot less painted and a lot more ready to refinish.
Now go over everything with a scraper and knock off any remaining stubborn patches. If there are rough spots or raised edges, hit them with a sanding block or power sander.
Once it’s smooth and clean, check for any cracks, holes, or water damage. Fill or repair as needed, let it all dry completely, and then you’re ready to prime and repaint.
Congrats! You just saved yourself hours of scraping the old-school way.
Bottom Line
Using a pressure washer to strip paint is totally doable – it just takes the right prep and a little care. It’s not a cure-all, and it won’t magically leave a smooth, paint-ready surface.
But it does give you a strong head start and saves a bunch of time compared to doing it all by hand.
Just remember: protect yourself, protect the surface, and don’t rush the follow-up.
A little effort upfront makes the rest of the job way easier.
And hey, blasting off old paint can be kind of fun too.
